Export and Import Backups
This guide explains how to export backups from Authenticator Extension and import previous backups to Authenticator Extension.
Prerequisites
Install Authenticator Extension (Chrome, Firefox, Edge)
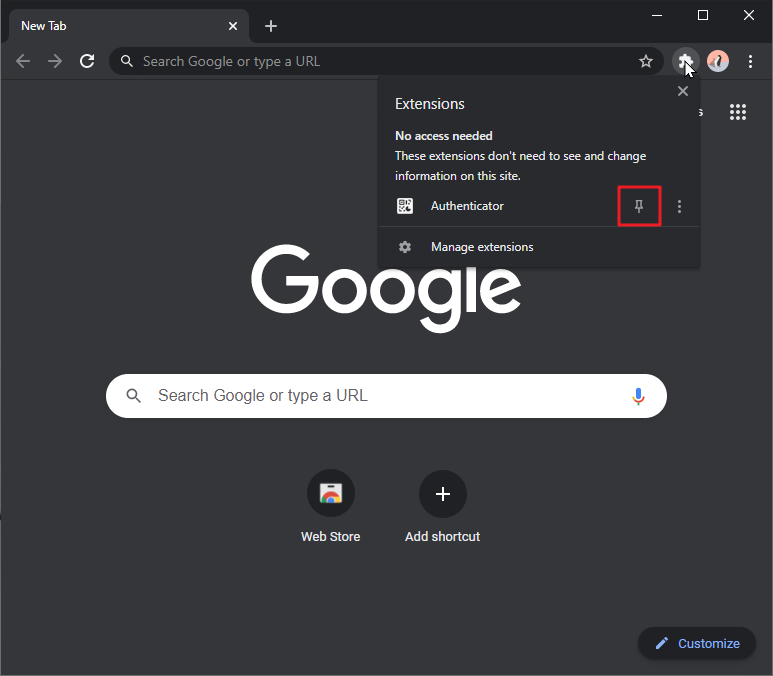
When you first install Authenticator Extension in Chrome, you should pin its icon to the toolbar.
Export backup file to local machine
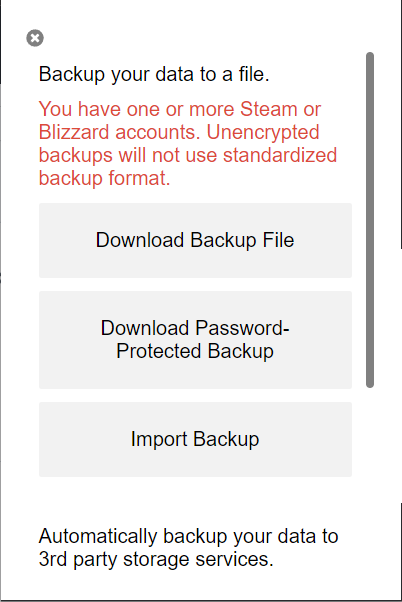
Go to Settings -> Backup and click Download Backup File or Download Password-Protected Backup to save a backup of your accounts to your computer.
If you haven’t set a password in Security menu, the Download Password-Protected Backup button will be hidden.
Unencrypted backup files use a standardized backup format that can be imported to other OTP clients. See Standard Backup Format to learn more.
If you have Steam or Blizzard accounts, unencrypted backup files will not use the standardized backup format.
Export backup file to 3rd party storage services
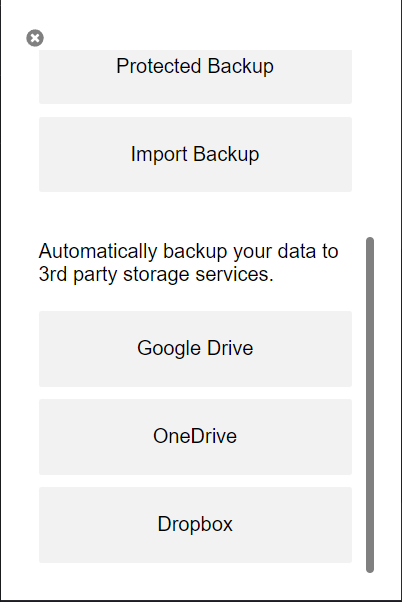
Authenticator Extension can automatically backing up files to Google Drive, OneDrive and Dropbox. To enable cloud storage backup, click the service button to link to your cloud storage service account.
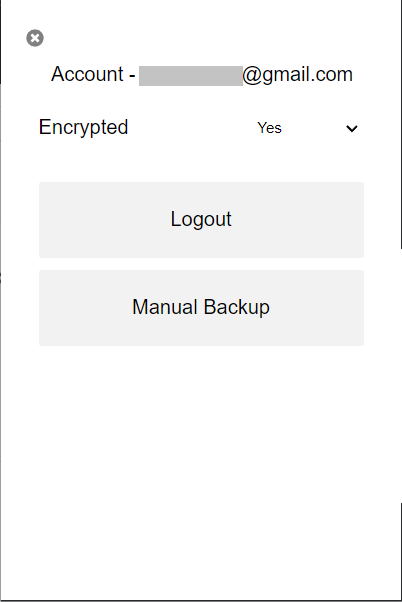
You may need to wait for a few seconds before the login page appears.
After logging in, your linked cloud account will be visible in the cloud backup page.
Import backup files
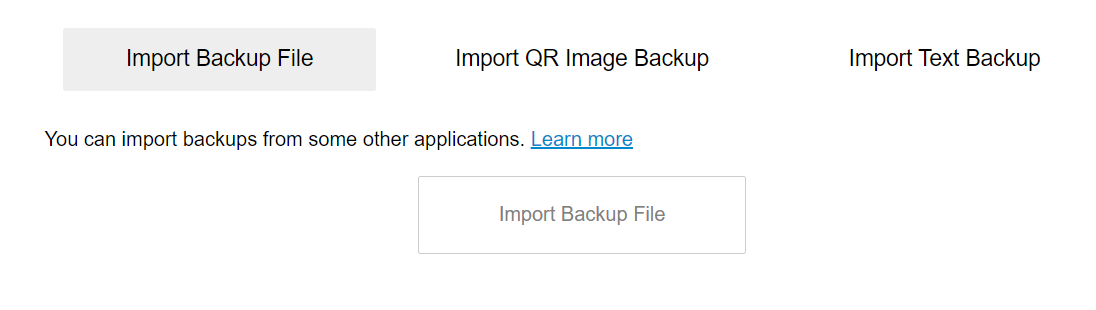
To import backup files to Authenticator extension, open the Backup menu and click the Import Backup button.
A new page will open with the following options: Import Backup File, Import QR Image Backup, and Import Text Backup.
Choose an import method based on what format of backup you have:
authenticator.jsonorauthenticator.txt. If your backup file is plain text with a.jsonor.txtfile extension, use Import Backup File. You may be asked to enter a password if the backup is encrypted.The file name may be different if you changed it when you export the backup file or you use cloud backup.
If you exported the backup file by clicking the Download Backup File or Download Password-Protected Backup button, look for your backup on your computer.
If you setup cloud backup, look for your backup in your cloud storage account. Authenticator uses a folder named Authenticator Backups. Backup files are named by date in the format yyyymmdd.json.
- If you have a screenshot of a QR image, use Import QR Image Backup. You can select multiple images to import more than one account at a time.
You can also import Google Authenticator accounts. In Google Authenticator, tap on the three dots in the upper right-hand corner of the screen. Tap on Transfer Accounts. Tap on Export Accounts. Verify your identity. Choose the account information you wish to transfer from the list. Tap on Next. Take a screenshot to save the QR image (iPhone), or take a picture with another phone/camera (Android). Then use Import QR Image Backup to import the accounts.
Google Authenticator supports exporting up to 10 accounts at one time. However, when importing to Authenticator Extension it is recommended to export five accounts at one time to prevent errors.
- If you saved your backup as a string of text instead of a file or have OTP URLs from other OTP clients, use Import Text Backup.